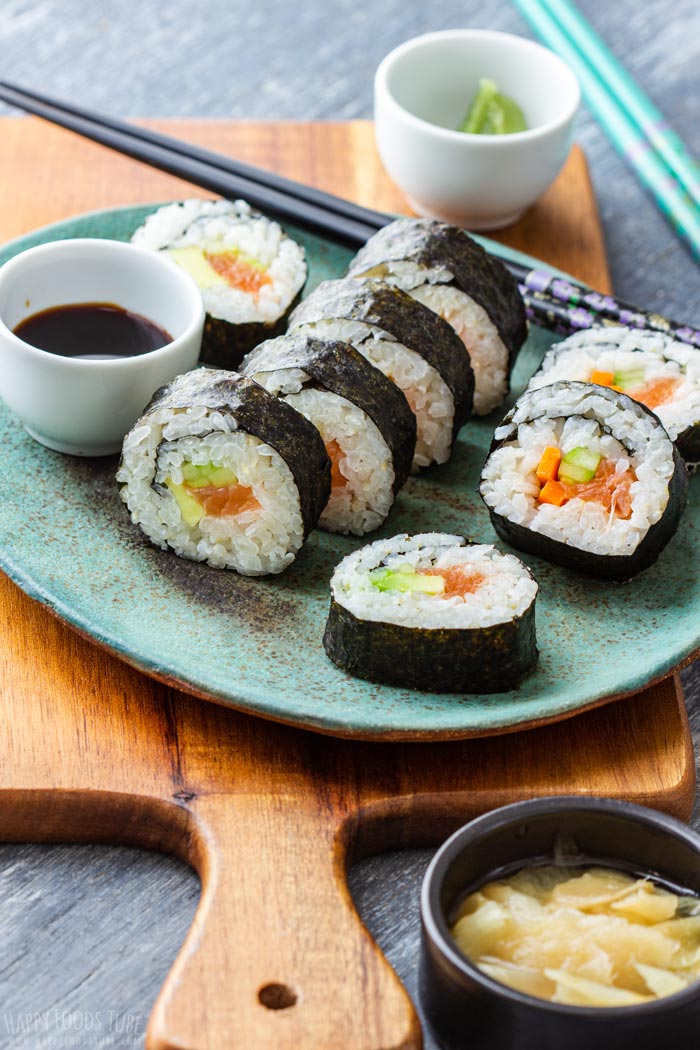
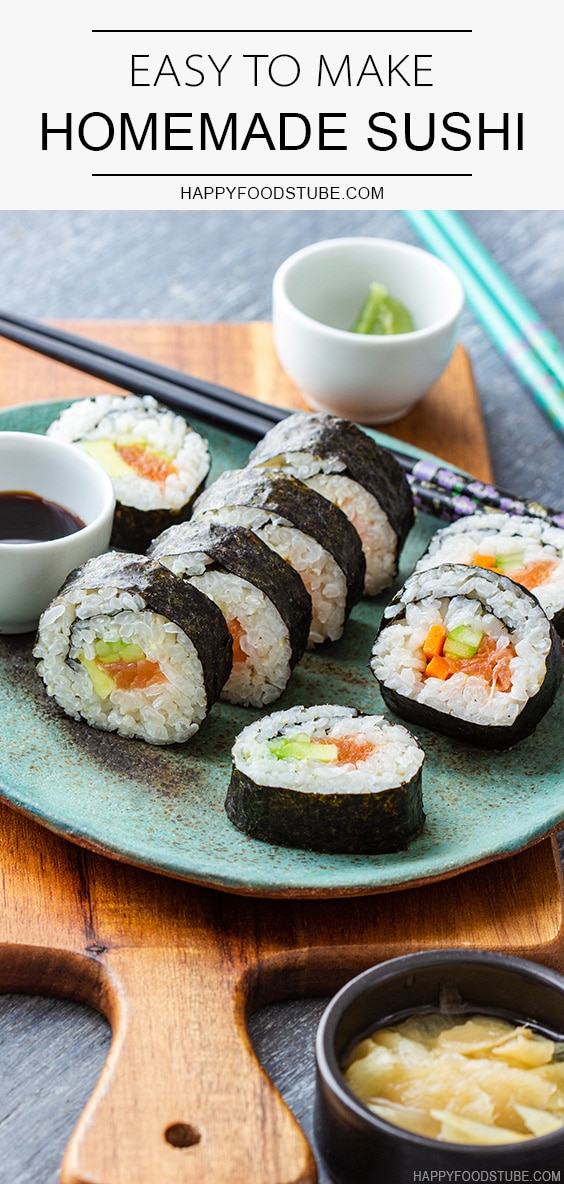
Impress your guests by making homemade sushi. Or better, host a make-your-own-sushi party at your house. The choice of fillings is entirely up to you!

Making homemade sushi is easy peasy. All you need is a bit of practice but by the time you roll the last sushi roll, you will get the hang of it.
Can you roll sushi without a bamboo mat?
Yes, you can.
Try using a folded tea towel instead. Now, you might need some time to get it right and your homemade sushi roll might not look perfect at first but it’s a great idea for those who don’t want to buy the mat.
Another option is a bamboo placemat. I bought one long time ago and figured out it would work well when making homemade sushi as well. And it does! It looks pretty much like the sushi mat, just larger in size.
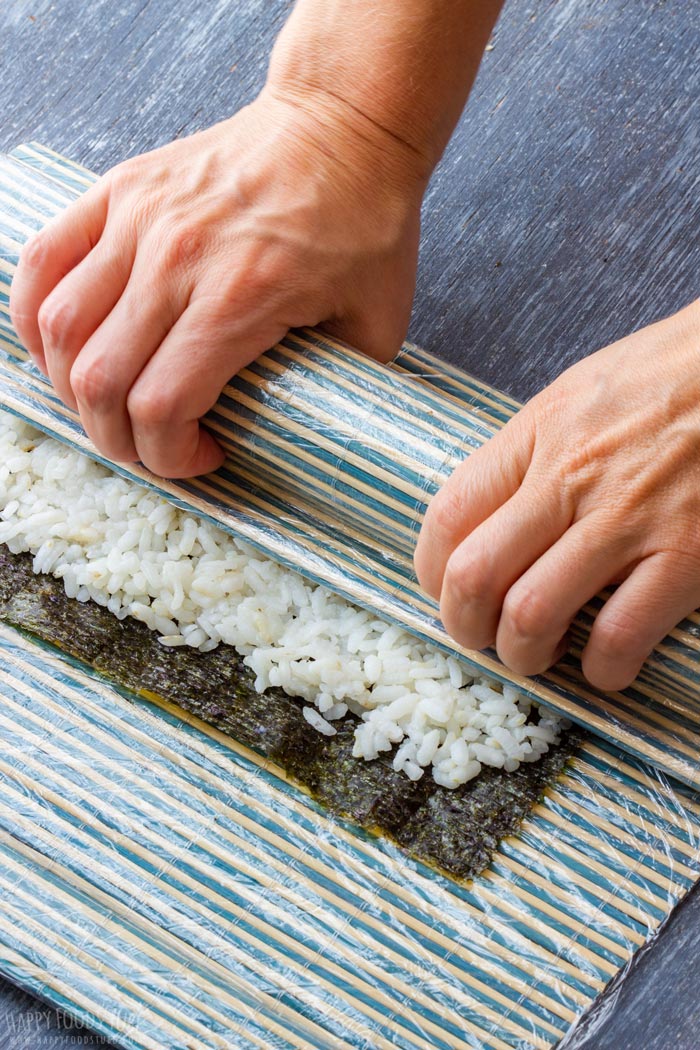
Tip: Wrap the mat in a cling film to avoid getting rice stuck all over your mat.
Those who like kitchen gadgets can try a sushi rolling kit that apparently makes rolling homemade sushi a breeze. I have not tried it, but I know there are quite a few on the Internet so I’d say choose the one with best reviews, if you decide to go this way.
Is it hard to make sushi at home?
No. On the contrary, it is easy and if you follow my instructions, you will be able to enjoy homemade sushi any time you like.

What to put in homemade sushi
- Raw fish (salmon or tuna are most common)
- Smoked salmon – my favorite choice
- Crab sticks
- Prawn
- Avocado, cucumber
- Carrot
What to serve with sushi?
Soy sauce, wasabi, pickled ginger, seaweed salad. I always make sure I have soy sauce and wasabi on hand before I make homemade sushi.
Those two condiments bring your food experience to a whole new level. Even a little bit of each adds a ton of flavor to your homemade sushi.
Also, you can do a Japanese-themed dinner party with Homemade Ramen with Chow Mein Noodles or Vegetable Ramen with Quail Eggs.
Choosing ingredients
When it comes to sushi, it’s important to use fresh ones. If using raw salmon or tuna, make sure they are of the best quality. If possible, ask your fish monger when they were caught and if they are OK for making homemade sushi.
Ripe avocado (this article: How to buy a good avocado shows you how to do it right) and fresh veggies are a must.
As for the rice – use sushi rice if possible. If not, medium or short-grain rice should work fine as well.

How to make sushi at home?
Cooking rice: I highly recommend following package instructions to achieve the best results. I cook 2 cups of dry sushi rice (that I rinsed first) in 2.5 cups of water. When the water starts boiling, I just reduce the heat to low and cook it covered for about 15 minutes. Then, I turn off the heat and let it sit for a further 5-10 minutes.
To season the rice, pour over a mixture of rice vinegar, salt and sugar. Mix everything well and let it cool.

Prepping veggie & fish: Cut them into strips (either thin stick or chunks – this is entirely up to you. Chunky sticks will save you time when prepping but they might make rolling sushi more difficult).
Rolling homemade sushi: Place sushi mat on your worktop. Top it with nori sheet (the rough side facing up). Cover nori sheet with rice and press it down. Place your fillings neatly in the middle of the rice.


When ready, lift the mat and carefully roll it altogether with nori sheet over the fillings. Now press down the mat. Lift it slightly, roll the sheet again a bit further and using the mat apply pressure, like if you wanted to squeeze the roll. Repeat until done. Have a look at the photos for better understanding.

Then all you have to do is cut your homemade sushi into equally looking pieces and you are done!

Storing homemade sushi
I don’t recommend storing sushi overnight, especially if you use raw fish to make it. It is not worth the risk of getting ill.
If you are not using raw fish, then you can store your homemade sushi leftovers in the fridge overnight but note that sushi will not taste as good as on the day of preparation. Even if stored in an air-tight container.

Homemade Sushi
Ingredients
- 2 cups Sushi Rice (14 ounces/400 grams)
- 7 ounces Smoked Salmon (200 grams), See note 1
- 1 Large Ripe Avocado
- 1 Small Cucumber
- 1 Small Carrot , optional
- 5 Nori Sheets
- ¼ cup Rice Vinegar (60 ml)
- 1 tablespoon Sugar
- 1 teaspoon Salt
Optional Condiments:
- Soy Sauce
- Pickled Ginger
- Wasabi Paste
Instructions
- Cook the rice following packet instructions. In a small bowl, combine vinegar, sugar and salt and mix until the sugar is dissolved. Pour this over cooked rice and mix well. Let the rice cool down.
- In the meantime, cut the veggies into thin strips. I like cutting the cucumber and carrots into matchsticks, avocado and salmon into chunks (all of them about 4 inch/10 cm long).
- Now place mat onto your worktop (see note 2), top it with nori sheet so that the rough side is facing you. Spread the rice over the nori sheet, (see note 3) covering it evenly but leaving about 0.5 inch (1.5 cm) of the sheet free. The rice-free end should be farther from you.
- Place a thin row of salmon, cucumber (or carrot) and avocado in the middle of the rice.
- Wet the rice-free end with water and roll everything tightly (the mat helps you get a nice round shape and also by applying pressure when rolling, you are making sure the roll stays tight).
- Slice and serve with soy sauce, wasabi paste and/or pickled ginger.
Notes
- I used smoked salmon. You can use fresh salmon or fresh tuna instead.
- Wrapping the mat in plastic wrap prevents rice from sticking to it.
- Rice will be sticky so dip your fingers in cold water to avoid excessive sticking.
- Make sure you don’t put too much rice onto each sheet. There should be a balance between the rice and fillings. I use my measuring cup for “measuring”. 1.5-2 cups very loosely packed rice should be enough for 1 nori sheet.
- Wet your hands in cold water to prevent the rice from sticking.
- You should get 8 pieces out of one roll (without the cut offs) = 40 pieces in total. This should serve 4-5 people.
- Each sushi roll is 7-inch (17-cm) long.
- If in doubt, please read the whole post that contained detailed information as well as step-by-step photos.


Vivian says
Love this! It’s funny how you didn’t convert to sushi right away (at the All you can eat restaurant!) because everyone I know is craaazy about sushi. (They add mayonnaise to the rice: this is cheating! Everything is better with mayonnaise!) anyways, I think it’s a great idea and I love the notes and tips you added. Great post!
Julia | Happy Foods Tube says
Hi Vivian, thank you! Yes, for me it wasn’t love at first sight lol! Oooh, not sure about the mayonnaise.
Meghna says
Wow! I love this home-made sushi, looks terrific. I’ll try this recipe soon because you’ve made it so easy with your detailed instructions. Thanks.
Julia | Happy Foods Tube says
You are welcome, Meghna :)
Sara Welch says
I’ve never given sushi a try but you’ve inspired me to give this a go! Looks easier than I thought!
Julia | Happy Foods Tube says
Let me know what you think!
Lisa says
Well, I’m certainly impressed with your homemade sushi. I really should give this a try because we have access to REALLY FRESH fish living in South Florida. Your sushi looks like it came from a restaurant!
Julia | Happy Foods Tube says
Thanks so much, Lisa! :)
Demeter says
This is such a fun way to get your family involved in making dinner too. Can’t wait to try my hand at it.
Julia | Happy Foods Tube says
It is, isn’t it? :)
Caroline says
I’ve had making sushi on my list for so long now, I keep meaning to try but not managing. Maybe this will finally prompt me to action – yours looks great and love the idea of doing it as a party.
Julia | Happy Foods Tube says
Hope you give it a go, Caroline! :)