No matter what type of cake tin you have, make sure you find your time to prepare it for baking as nothing is worse than a cake that doesn’t want to leave its tin!
I have bought several cake tin (made of different materials, with loose bottom and also spring forms) and even though most of them were meant to be non-stick tins, there was always something that got stuck to the bottom or its sides.
So I had learned my lesson and as I don’t like spending ages removing cakes from their tins and then washing my tins for ages (more like scrubbing them ), I simply use one or a combination of the following ways:
1. Greasing
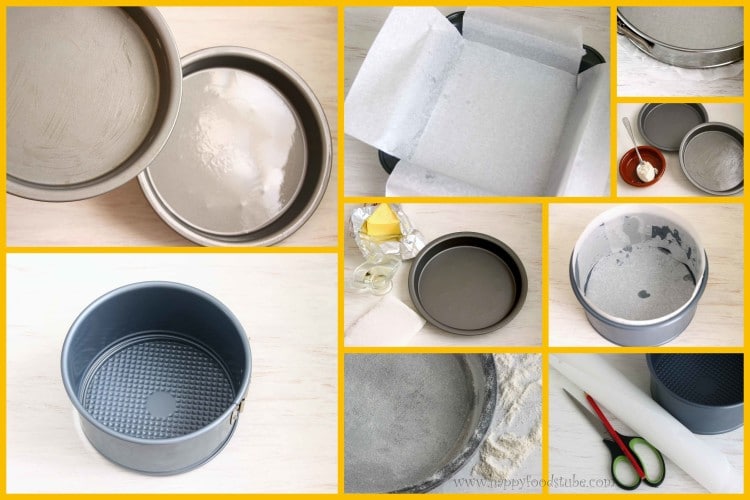
Here you simply use butter, vegetable oil or margarine. What you do is to grease the inside of your cake tin, no matter what size or shape you have, with one of the above mentioned products.
Method:
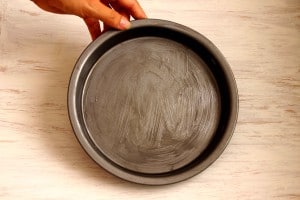
When using vegetable oil, take paper kitchen towel, fold it in half or in quarters and pour about a table spoon of oil right onto your folded paper kitchen towel. Now grease the bottom and the sides with it making sure the whole area is covered. A silicone brush will also do the trick.
When using butter – the method is the same as with the vegetable oil. You can use paper kitchen towel or simply your fingers. If you want, you can also leave the butter in its cover, opening just one end/side and holding it by he wrapped end. The silicone brush won’t work here.
When using margarine – follow any of the previous instructions related to butter.
2. Dusting
Dusting is an extra step to really make sure your cake will come out of your tin easily.
First, you grease your cake tin following previously mentioned products and methods.
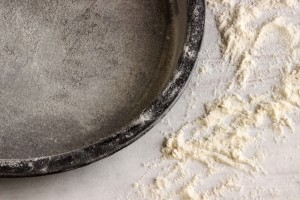
Second, put 1-2 table spoons of flour inside your cake tin (Note: smaller tins won’t require as much flour as the large ones) and by tapping the tin distribute the flour around, starting from the bottom and continuing along its sides.
3. Lining
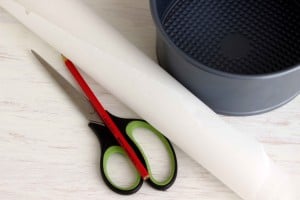
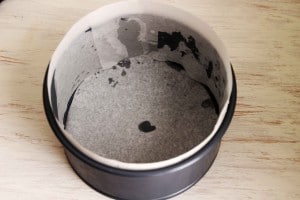
Lining a cake tin with a baking parchment sheet is a pretty simple way. There are several ways how to do it. When lining a round tin, I simply put my cake tin on a sheet of baking paper & outline the circumference of my tin’s base with a pencil. As this circle is still larger than the inside of my tin, I cut a bit smaller circle than I have previously outlined. Place on the bottom of your tin (you can add a bit of oil, butter or margarine to the bottom as well – this will stop the paper from moving) and you are done.
The sides of your tin can now be greased, dusted or lined with baking paper.
To line the sides, take a sheet of baking paper, cut out a strip that has the same height as your tin (or can be larger) and length as the tin’s circumference (or a bit longer). Place it inside and you are done!
Lining a rectangular, square or a loaf tin:
Place your tin on a sheet of baking parchment & measure its width first. Now cut a strip that will cover its bottom and 2 sides and will also be a bit higher (on both sides) than the tin. Place inside the tin. You can now grease or dust the remaining two sides or line with one extra baking parchment sheet as follows:
For square tins you simply cut 2 same size strips. For rectangular and loaf tins, measure their length and again cut a strip that will cover the base and the two remaining sides. Place inside. You should end up with a tin that has its bottom covered 2x and its sides 1x with paper.
This is just a basic way how to protect your cake from sticking to its tin. When it comes to lining tins, there are a few more ways how to do it. Some of them might be a bit trickier than others or more time consuming. There is never one way only and so there is no right or wrong. Use anything you like, experiment, try your own way – maybe you’ll find a different way that works for you better.
Watch our video:

Leave a Reply